I’m excited to share that one of my quilts, Heart of Gold, will be on display at QuiltCon in Pasadena, CA from February 22-25. QuiltCon is a modern quilting showcase presented by the Modern Quilt Guild, and I am a member of the Austin chapter. It's my first time to have a quilt in this show!
Heart of Gold
39" x 50"
After taking Tara Faughnan’s Double Wedding Ring class I started to discover an affinity for solid color combinations. While working on that quilt, I saved every scrap trimming because I knew they needed to find their way to a new home. They came to life in Heart of Gold using Yoshiko Jinzenji’s shadow appliqué technique I learned in her class at QuiltCon 2015. The multi-colored scraps represent imperfections and varied experiences that we bring to our hearts - sometimes messy and jagged, but when brought together with care and kindness, we nurture a good spirit and cultivate a Heart of Gold.
Here is a bit more about my inspiration for the quilt:
My close friends know that I love to collect idioms. In fact, I keep an entire journal devoted to them because I love to reflect on their varying meanings. One of my favorite idioms is a really popular one - Heart of Gold. One might use this expression to speak of someone who is kind, compassionate, and generous.
Additionally, I’m intrigued by the heart shape. Whether we send an emoji heart to a friend or draw a broken heart, we use this symbol to communicate emotions that represent some form of love - whatever that might mean to you.
Last year (2017), a special leader and educator whom I had the opportunity to work for passed away after battling some serious health issues. You would never have known the obstacles she was facing because she understood how to bring people together through optimism and grace. At her celebration of life, all the dots connected for me - she truly lived life with a heart of gold.
So, I was inspired to create a quilt that would be a visual reminder for me to live life with more kindness, compassion, and empathy for others. I’m so grateful for my friends and family that challenge me and show me how to be a better person through their actions.
Here are some photos of how I constructed the quilt:
 |
| Using a large piece of gold lame as the background, I arranged the scrap trimmings so together they would form a heart shape. |
 |
| I placed a sheer layer of fabric gently over the scraps and carefully pinned everything in place. |
 |
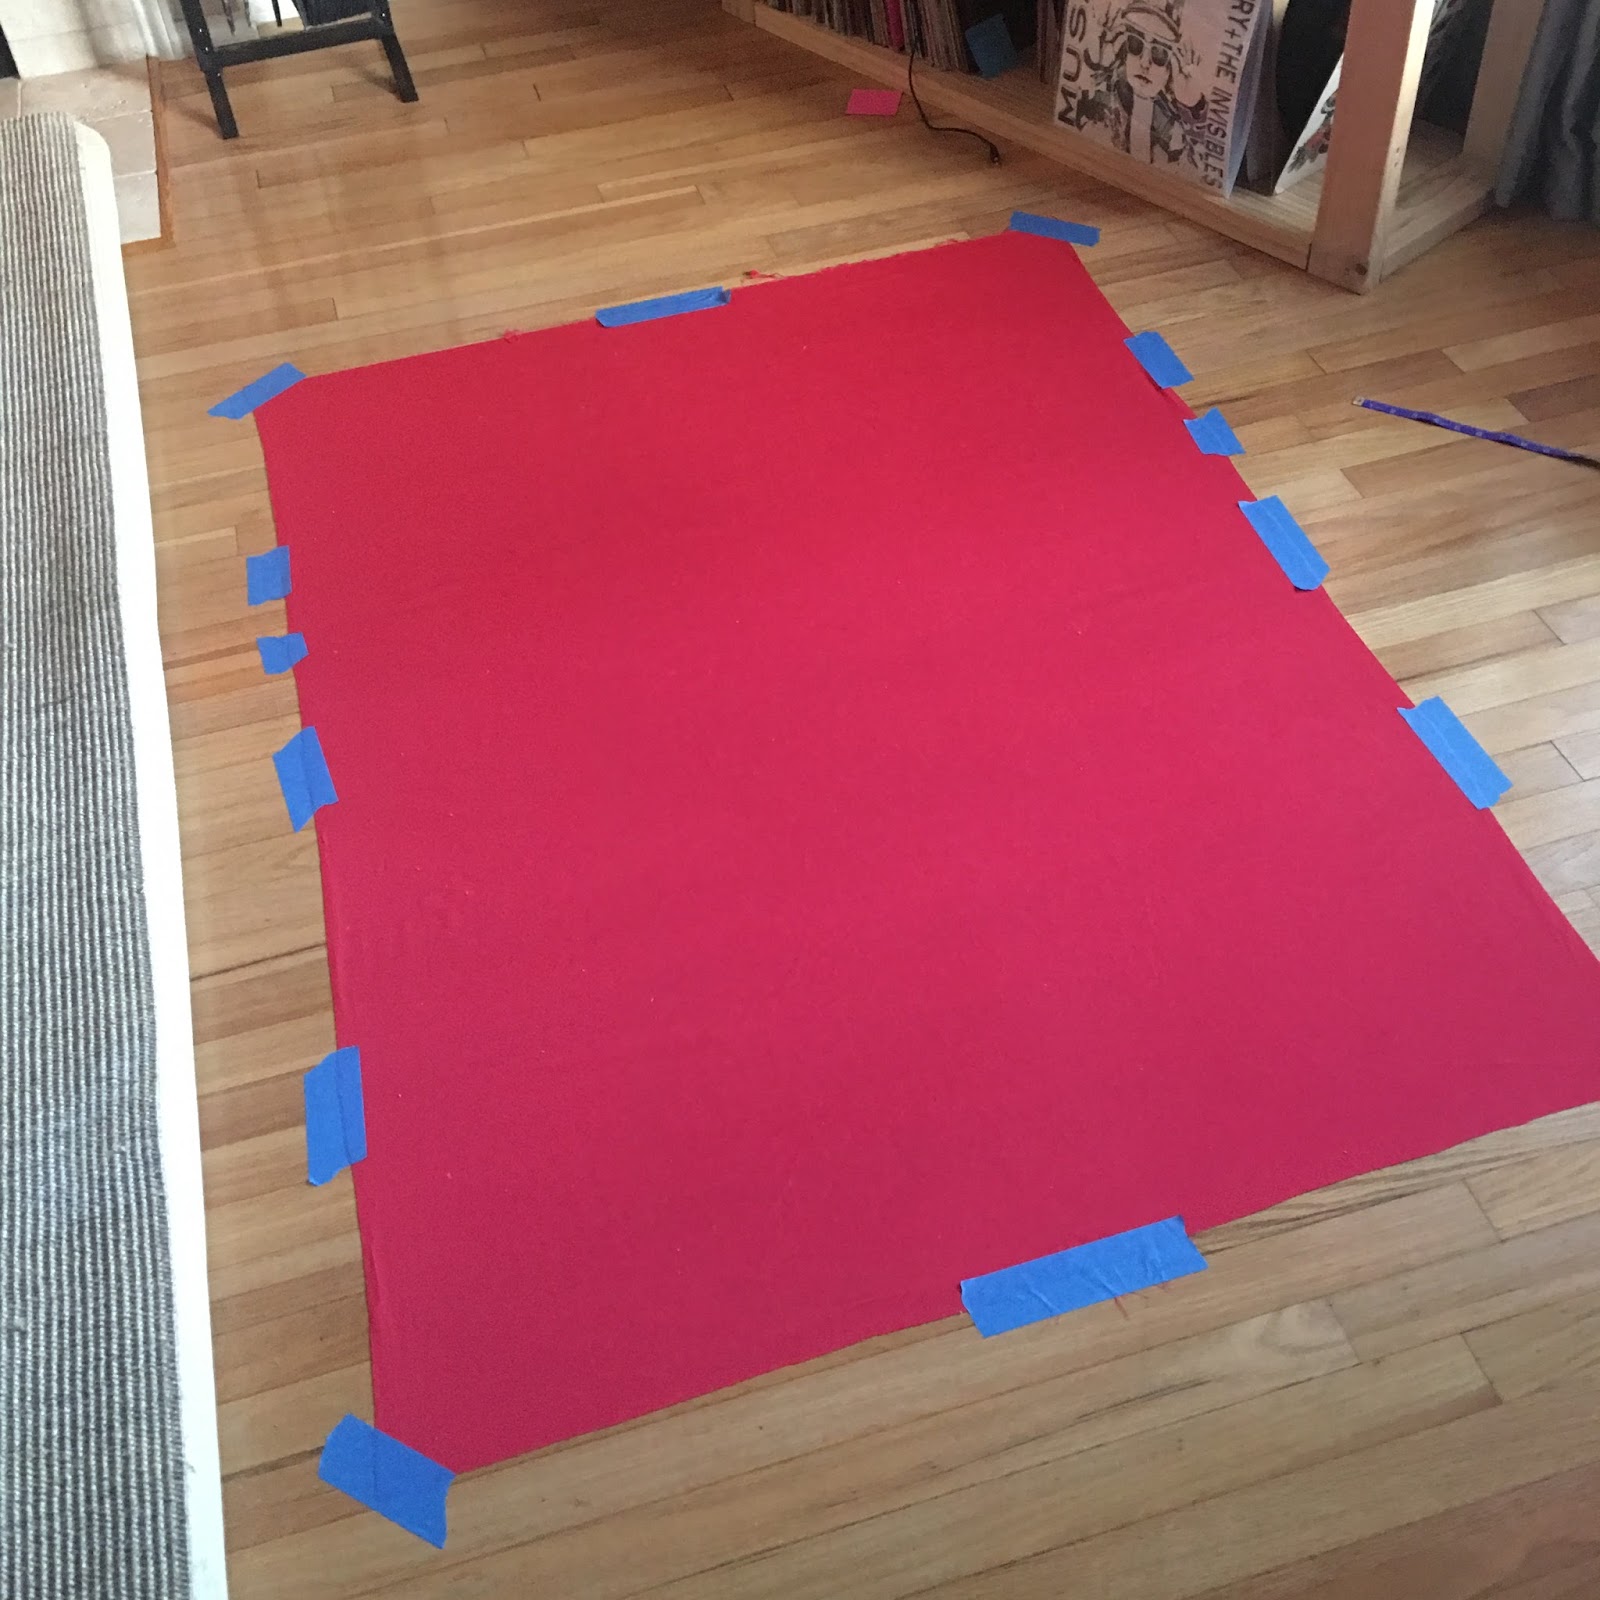
| A bright pink fabric seemed like a good fit for the back. |
 |
| I basted my already heavily pinned top to form a quilt sandwich. This quilt sandwich had 4 layers - the backing, batting, gold lame with scraps, and the sheer top. |
 |
| I quilted vertical straight lines with white thread and each line was about a centimeter apart from each other. |
 |
| This quilt is hard to photograph. I do love a little shimmer. |
 After taking Tara Faughnan’s Double Wedding Ring class I started to discover an affinity for solid color combinations. While working on that quilt, I saved every scrap trimming because I knew they needed to find their way to a new home. They came to life in Heart of Gold using Yoshiko Jinzenji’s shadow appliqué technique I learned in her class at QuiltCon 2015. The multi-colored scraps represent imperfections and varied experiences that we bring to our hearts - sometimes messy and jagged, but when brought together with care and kindness, we nurture a good spirit and cultivate a Heart of Gold.


