Showing posts with label Quilts. Show all posts

Wednesday, September 12, 2012

Distributive Duo Quilt (Part 2 of 2)

After I had such a good time making the first distributive property quilt, I just knew that my work was not complete! I had to make another quilt to show a different way to look at the same problem-29 x 39. So basically, here is a new quilt illustrating a new strategy using the same problem!
This strategy is basically single number partitioning by a decade number. For example, I did not partition or break up the factor 29. The only factor partitioned was the 39 using the decade number 10, so I ended up with 10 + 10 + 10 + 9 = 39.
This strategy is easier for me to do mentally because I only have to keep track of the partitioning of one factor in my mind.  Also, when students think of this problem in context of a real-life situation, many times they will use this strategy because it doesn't always make sense to break up the amount in the group. Let's look at an example: Bettina has 39 photo albums. There are 29 pictures in each album. How many total pictures does she have? Based on the context of the problem, a child would likely partition the photo albums (groups) and keep the number in each group together.

The quilt also helps visualize how you could use compensation to solve the problem.  For example, since 29 is so close to 30, I can actually solve the problem by using (30 x 10) + (30 x 10) + (30 x 10) + (30 x 9). The tricky part in finding the exact answer comes from making sure to deal with the extra at the end because I added a row of 39 by rounding to 30. So, now I have to subtract a row of 39. Can you follow my thinking?

Back to the pictures...
Tagged!
The Distributive Duo! 29 x 39 = 1,131 (in square inches)
Two different quilt backs. The left one has beautiful elephants and the right one has feathers!

Thanks for reading about my quilts and the mathematics involved! Can you think of another way to look at this same problem? My friend Diana did! I think I might have to make a 3rd quilt. 
Could this be the beginning of the distributive trio?


Monday, September 3, 2012

Distributive Duo Quilt (Part 1 of 2)

Heads Up: This is a math concept quilt so be prepared to read about math! I will be creating a series of math projects. If you are interested in reading about these, you will find them linked on this page.

I knew I needed a lap quilt for the office, but I went back and forth about the type of pattern I was going to create. Should I do another log cabin, something three-dimensional looking, just improvise something?....I really couldn't decide. Then it hit me like a ton of bricks! I proudly present to you the Distributive Duo Quilt (Part 1 of 2)!
A little background story...
Have you ever felt like you KNOW you learned something in school several times but you never UNDERSTOOD what you learned until one day you suddenly UNDERSTAND what you thought you KNEW? Yep. Something like that.

That question sort of describes my journey with elementary mathematics and is a big part of who I am today. I used to have math anxiety and now my full time job has privileged me the opportunity to relearn elementary mathematics. It's one of the most interesting jobs I've had to date. Approximately one-third of my work day is spent studying patterns, making conjectures and learning the best way for children to have this same opportunity.

For the 'Distributive Duo Quilts', I wanted a lap quilt for the office paired with the area model using square inches to show the distributive property of multiplication or commonly called, the distributive property of multiplication over addition. This quilt is basically the multiplication problem, 29 x 39--in square inches. If you are a 3rd, 4th or 5th grade teacher this might look familiar because it is an important mathematical model! : )
A big understanding in elementary math is that numbers can be composed and decomposed. So, I purposefully sewed the rows of squares into groups of 5-an important benchmark number.
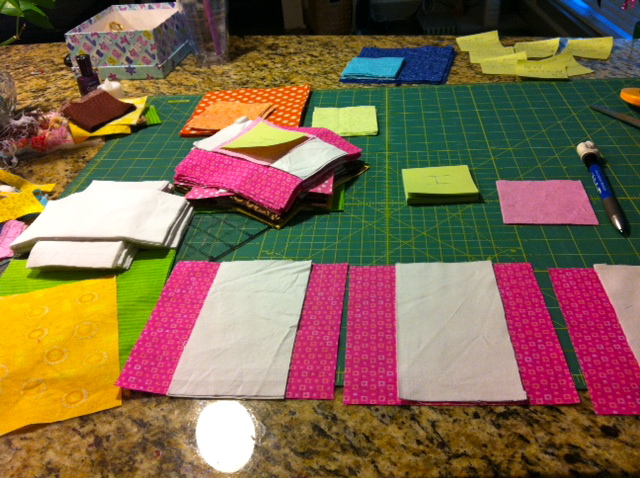
Here are all of the pieces before they came together.
'Mac the Ripper' was in the mix as I sewed the rows and columns of squares together.
I love how the back looked with all of the sewing. I wore it around like a cape for a few days. : )
Then, I draped it in the window for birthday week! The way the light illuminated the sewing patterns in the quilt was gorgeous. I didn't really want to quilt it at first! 
Quilt Sandwich!
Annie and the halfway done yellow binding! She is the real owner of all my quilts.
Skyping with Grandma!
It feels so satisfying to put a label on my projects! The backing fabric was full of those pretty feathers. I love feathery things!
Here is a close up so you can see the square inches. Now, I know that you could get your calculator out and figure out exactly how many square inches are in this quilt, but how could you estimate the product using the distributive property? (HINT: there are several ways to do it.)

This quilt shows a certain type of strategy called double number partitioning by decade numbers. Many people refer to this as partial products. In this case, I partitioned both factors by decade numbers, for example, 30 is partitioned into 30 and 9 and 29 is partitioned into 20 and 9. In the picture below, the factors are labeled in black. The products are labeled in white. There are basically 4 number sentences when partitioned in this manner:
20 x 30 = 600 (teal)
20 x 9 = 180 (mint)
9 x 39 = 270 (light blue)
9 x 9 = 81 (tangerine)

This strategy is the one that resembles the standard U.S. algorithm for multiplication. However, when children don't understand the meaning of the algorithm, mental computation is often difficult. One common error would be that students would only multiply 20 x 30 and 9 x 9,  forgetting the other two number sentences. Worse yet, some students never actually build an area model to help understand the meaning of multiplication.

The distributive property is really fascinating, so here is another way that you can look at this quilt. When I quilted the vertical and horizontal lines, I thought it would be useful to do the sewing in groups of 25 or every 5 rows and 5 columns. Twenty-five is a benchmark number that students enjoy using when counting. So, even if you didn't understand the multiplication in the quilt, you could have another way to count up all the squares.

Whoa! Haha! Now, this might not be the most efficient way to tackle the problem, but I did it to illustrate that there are many ways to manipulate numbers when learning and understanding concepts.

For example, let's look at this part of the quilt. If you remember, it represents 9 x 9. If you didn't know this multiplication fact (yes, I know the 9s trick, but let me ask you...why does that work?) how could you solve the problem using smaller facts that you do know? When I made this section of the quilt I noticed that 9x9, which is a square number, has two other square numbers inside of it! (5x5=25 and 4x4=16) And that got me thinking, is that true for all square numbers? It's these types of questions that elementary students should ask and answer every day in their math class! 

If you are confused about the distributive property, here is a video from KHAN Academy that might help. If you are a teacher considering what you could do with students, I would take a problem-solving approach vs. watching a KHAN Academy video where he explains it. Let the students discover and explain instead! Simply ask, "What is the area of a 29 inch by 39 inch rectangle?" Give them base-ten blocks and/or inch grid paper and have some fun! :)

Thank you for reading (part 1 of 2)--especially if you have math anxiety! : ) 

I made another quilt showing a different way to consider the distributive property. It's my favorite! Stay tuned for Part 2! : )


Wednesday, August 15, 2012

Earthy Log Cabin Quilt

Log cabin quilts have intrigued me lately. I've learned you can do so much with this type of quilt block, but I kept it basic and used fabric choice and color to liven up the design. Here we go...


This baby/lap quilt is being made for my cousin, Nicole, who lives in Chicago, Illinois. She is a hardworking, loving mother to Nolan and Nina. Aren't they precious? When I mentioned to Nicole that I recently began making quilts, she told me, "Oh Beth, we are quilt people!" Nicole loves earthy colors and I feel blessed and challenged to make her family something they will enjoy visually and practically. I mean, she's got two babes...(actually 3, her husband Kevin is not pictured) this quilt needs to look good and serve a purpose! Love you guys so much! xoxo

I started by finding some earthy fabric. I have a personal connection with bright colors so I had to incorporate some pops of color into the quilt. Using the basic log cabin block, I made 8 different blocks using my own formula:  4 blocks with pattern fabric on the outside and 4 blocks with a solid fabric on the outside, 4 solid colors for the inside and each group of 4 has one of those colors on the inside. Then, I doubled the 8 original blocks for a total of 16 blocks. I knew that I wanted the quilt to be square, so I tried to pick a square number to work with.


These are what I started calling the 'solid blocks'.


 These are the 'pattern blocks'.
 So... 4 solid blocks, 4 pattern blocks---doubled!
(4 x 2)+(4 x 2)=16 or 2(4+4)=16 or 4+4+4+4=16
However you want to write that with numbers!
I did lots of arranging to meet my desired pattern. I love how it turned out.
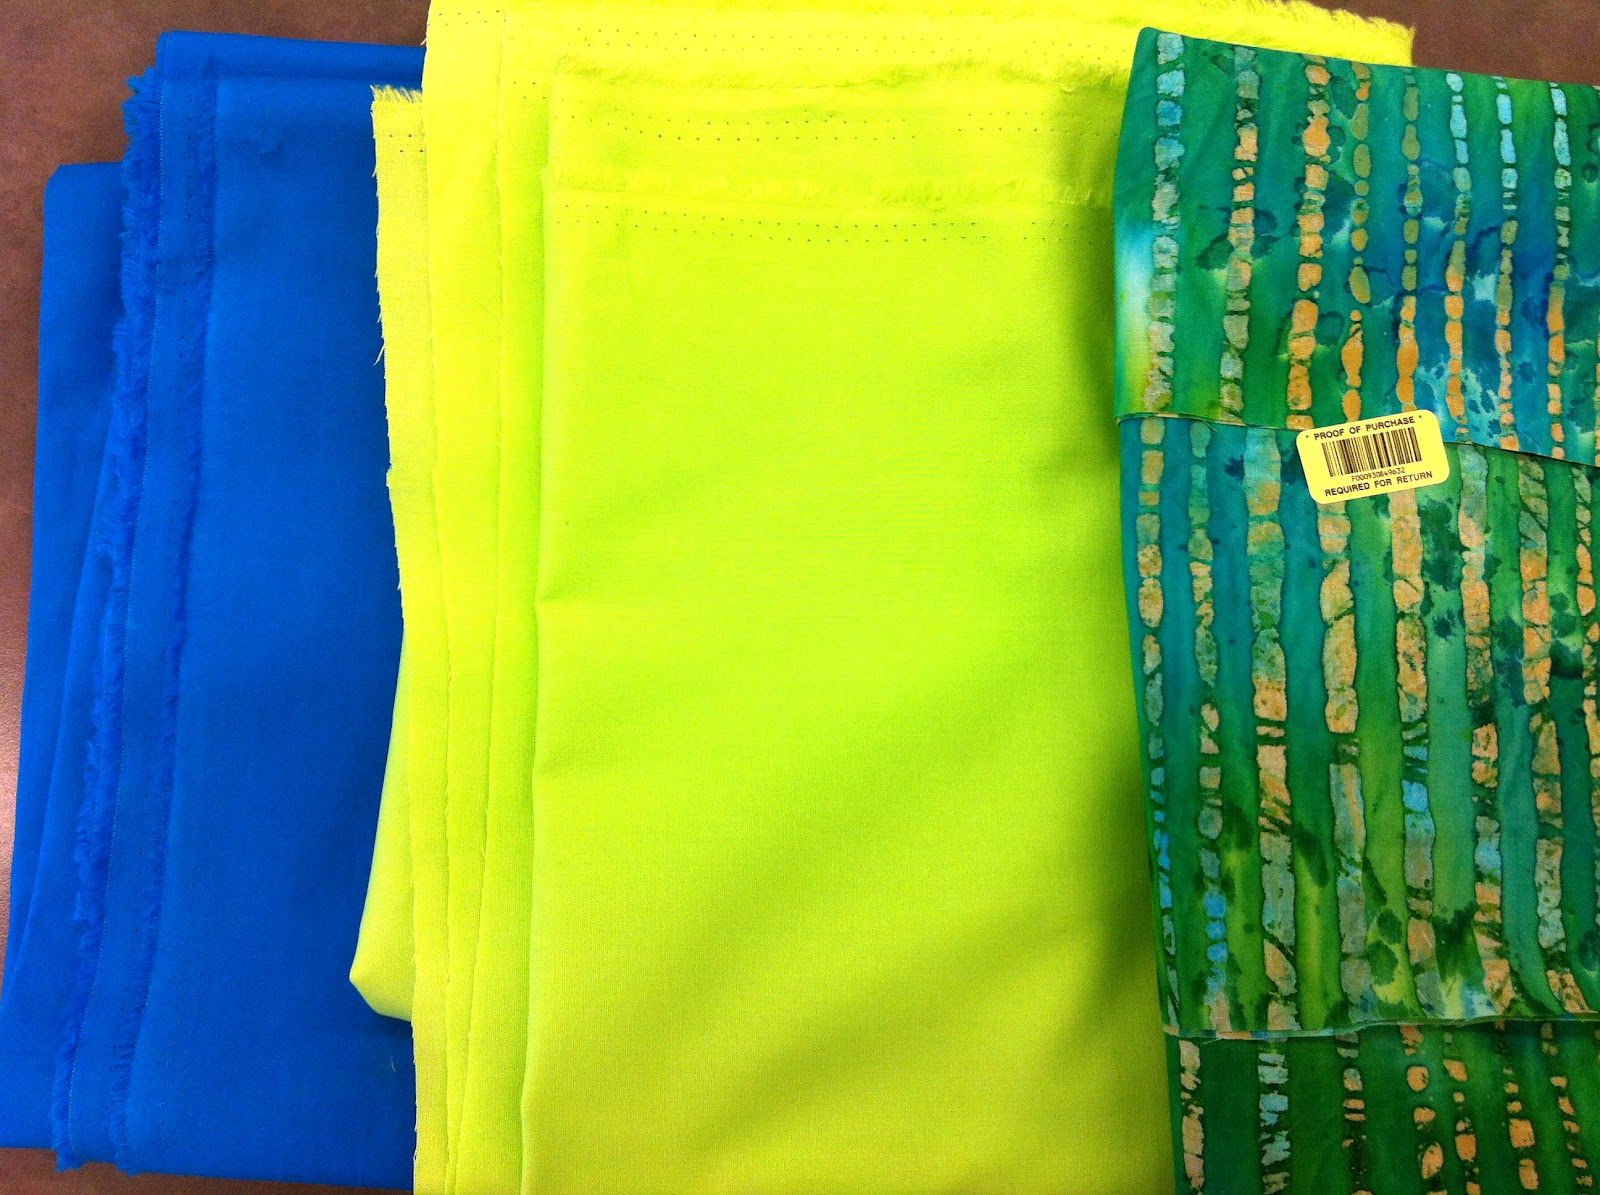
These were the fabrics for the binding and the backing of the quilt.
I sewed the binding by hand. Serious concentration!
Action shots. Gotta protect that thumb with a homemade bandage.
Diagonal lines were used for quilting. I love how they turned out.
(insert Nolan and Nina) Perfect picnic!
Ta da!
Zilker Park Magic!
I hope you enjoy this quilt, Nikole! Made with love from Austin to Chicago*


Wednesday, July 25, 2012

Kaleidoscopic Kites Quilt

After I completed the Rail Fence Quilt, I looked at my fabric and came to the realization that most of it was blue and lime green. I guess it is obvious that I love those colors! So, for my next quilt I knew I wanted to work on something that had a variety of colors. This would also allow me to start building up my "fabric stash." Here is a link for the free pattern.


So, I started with this stack of fabric. It was all washed and folded so pretty! Did you know that there is a method to this? There are some seriously creative ways to fold and organize fabric. If you are a quilter, you probably have a cool way you like to do it! Please share!


Cutting, measuring, cutting, measuring, cutting, measuring...


At the dollar store you can buy a cheap tablecloth with flannel backing to hold your pieces of fabric. A super cheap way to layout the quilt design before actually sewing it! (Thanks Jeananne! Seriously, I was about to go to the store and purchase a bunch of flannel until my friend hipped me to a cheaper way.) Since I used two to three different types of fabric per color I actually switched quite a few squares around until they were in their desired position.


This did not take long to sew. Wouldn't it look good if all of the white squares were black? Hmmm...


The quilt sandwich is all quilted! With my walking foot I quilted diagonal lines in both directions. A few of the lines are a little wonky, but overall I think it turned out beautifully!  I didn't measure the lines out ahead of time so I was just using my spatial reasoning skills and going by the patterns already there on the quilt top. Needless to say,  it was very meditative quilting all of the lines.


I loved the binding fabric. It was a greenish-blue design. Go figure, I love those colors! After I attached the binding to the quilt I sewed the rest of the binding by hand. It took forever, but it really does look a lot better for both sides of the quilt! And hey, my hand sewing is really improving! Yay!


For the backing fabric I used a soft yellow! I love how it looks with the binding fabric.


There's nothing better than laying on a homemade quilt in Zilker Park. All of those colors next to the green grass...lovely!


64" by 72" was the finished quilt size.


Somebody else really loves it, too. Look at that face, I don't think I'm getting this one back!


Friday, July 20, 2012

Rail Fence Quilt

A few months ago, my talented quilting friend Jeananne gave me a pattern to make a Rail Fence Quilt. I had never made a quilt before so I was super excited to get started! Little did I know how much I would learn and how much I would love making quilts!


I chose to pick BRIGHT fabrics.


These little 5 inch blocks were interesting to arrange. I could have done a pinwheel design but I chose to keep with the rail fence because I liked how it looked with the colors I picked.


Whew! I was glad to have everything sewn together.


Annie Kitty loved it from the beginning.


As soon as I put the borders on it actually felt a quilt to me!


Annie had to inspect! ;)


I decided to stitch in the ditch for this quilt using this helpful website.


Here is the finished quilt!


Here is the happy kitty!